

Alchemy
Soldering 101 and final stages of a cathedral ring and sakura pendant

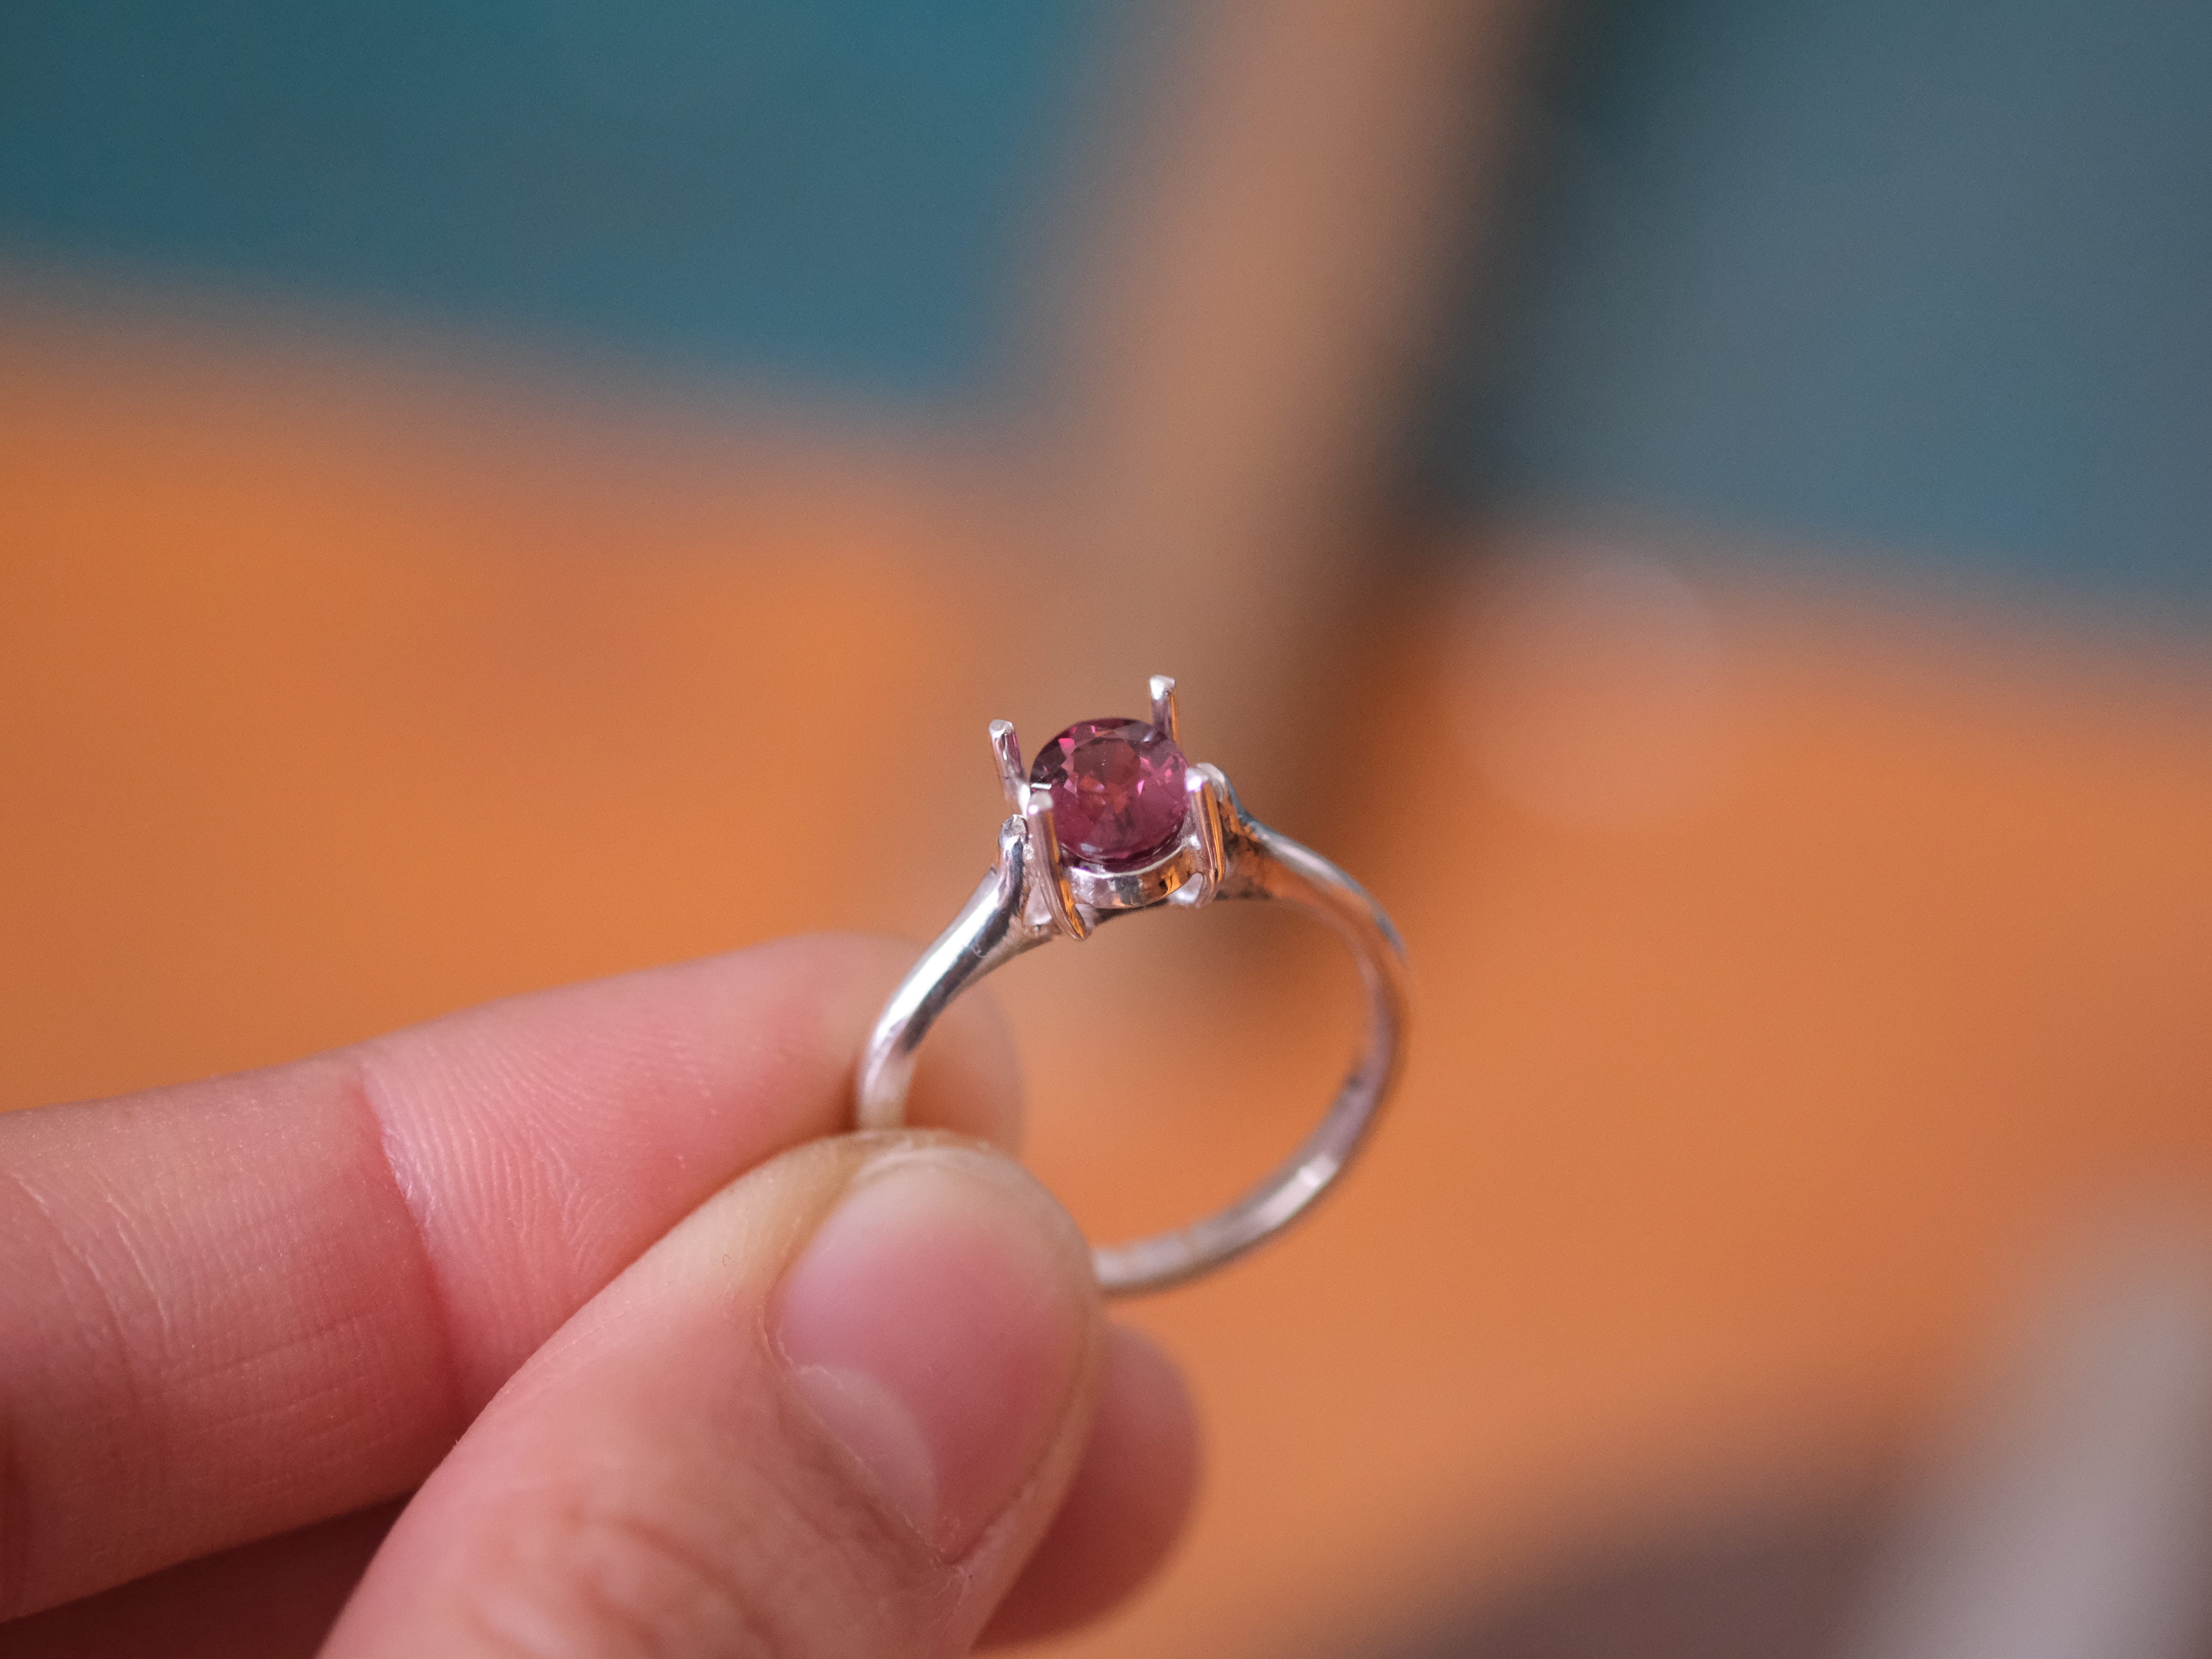
At long last, I soldered all the components of my solitaire cathedral ring together. Bringing this many small pieces into one clean, aligned structure is an exercise in planning and dexterity that feels almost like alchemy. Every joint has to be heated enough to flow, but not so much that earlier seams re-melt and fall apart. That’s where different melting points of solder come in.
Soldering 101
Soldering is one of the most foundational skills for jewelers. It is the process of joining two or more metal pieces by melting a metal alloy, called solder, into the joint.
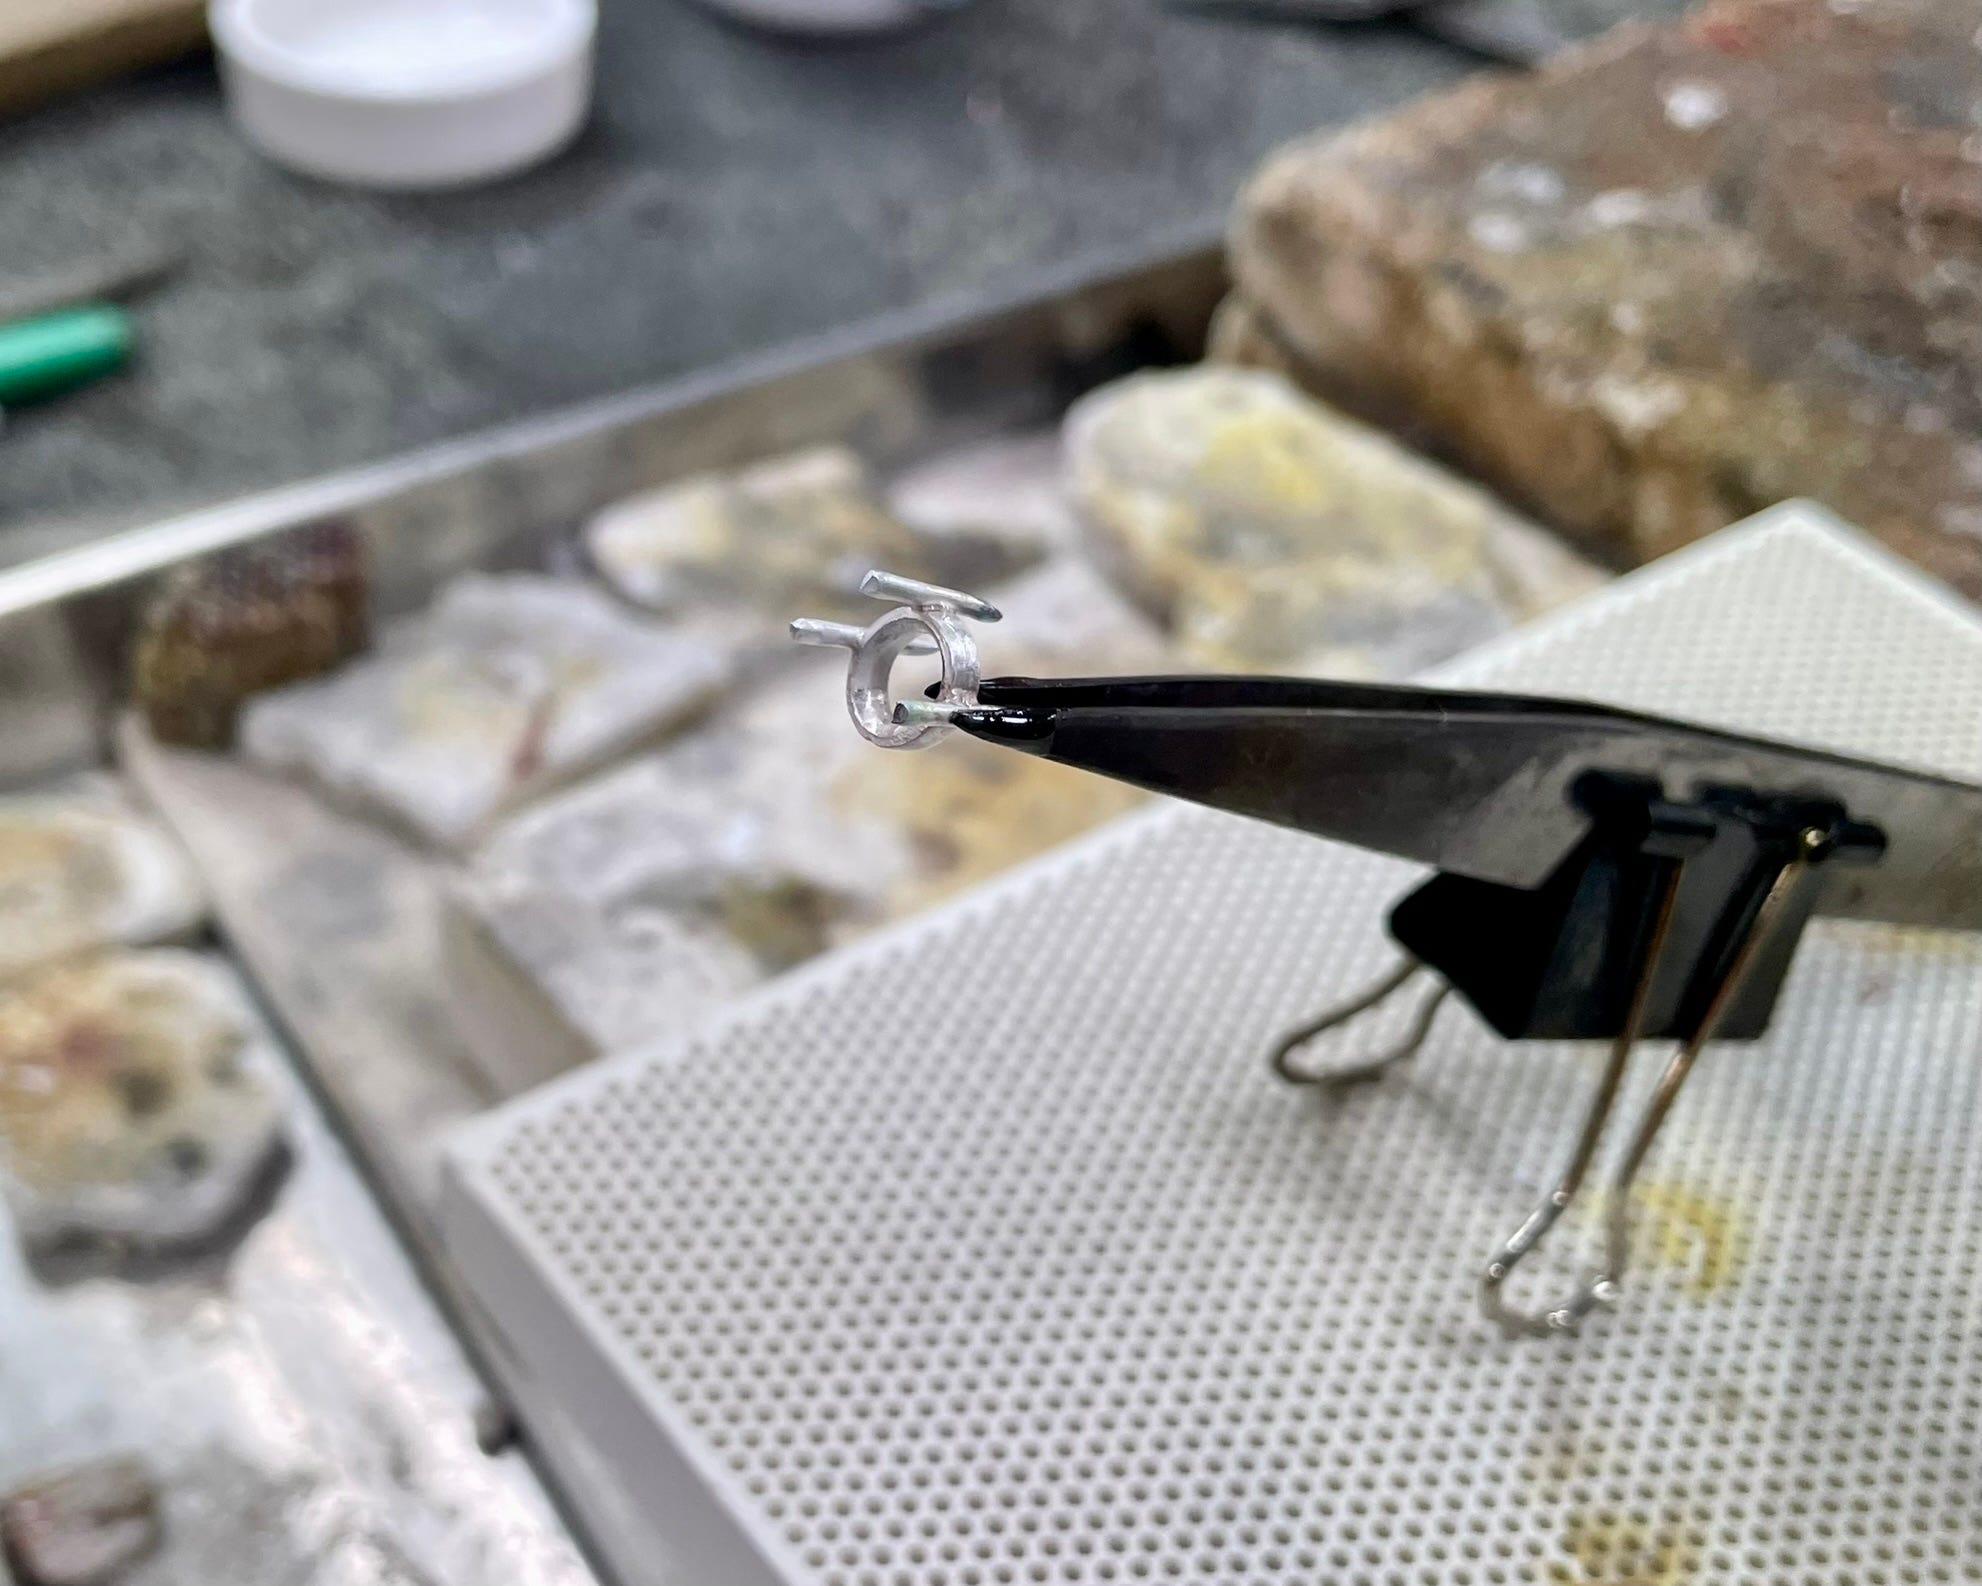
Jewelers use a sequence of solder (hard, medium, and easy in the US; #2, #3, #5, #7 in Japan) with each one formulated to melt at a slightly lower temperature than the last. The first joints are done with the highest melting point solder, which can withstand the heat needed later on. As you move through the build, you switch to decreasingly lower temperature solder so you can attach new parts without disturbing the ones already in place.
Solder comes in a few different forms: wire, chips, and liquid. I tend to use chips (and sometimes liquid) but the choice is personal preference. You also have to use different solder depending on the type of metal you work with (e.g., 18 karat yellow gold needs different solder from sterling silver because of different melting points and color).
One of the most important rules when soldering is that the pieces you are joining need to be clean. No metal residue, dust, skin oils, or oxidation - these can prevent the pieces from connecting properly. To keep the metal clean, jewelers use flux (a chemical agent that helps solder flow and prevents oxidation) and may also clean and matte pieces with pumice (a mild physical abrasive). One of the best tips my Sensei taught me when soldering is to heat the piece until the flux melts to the consistency of a sticky candy before adding the solder.
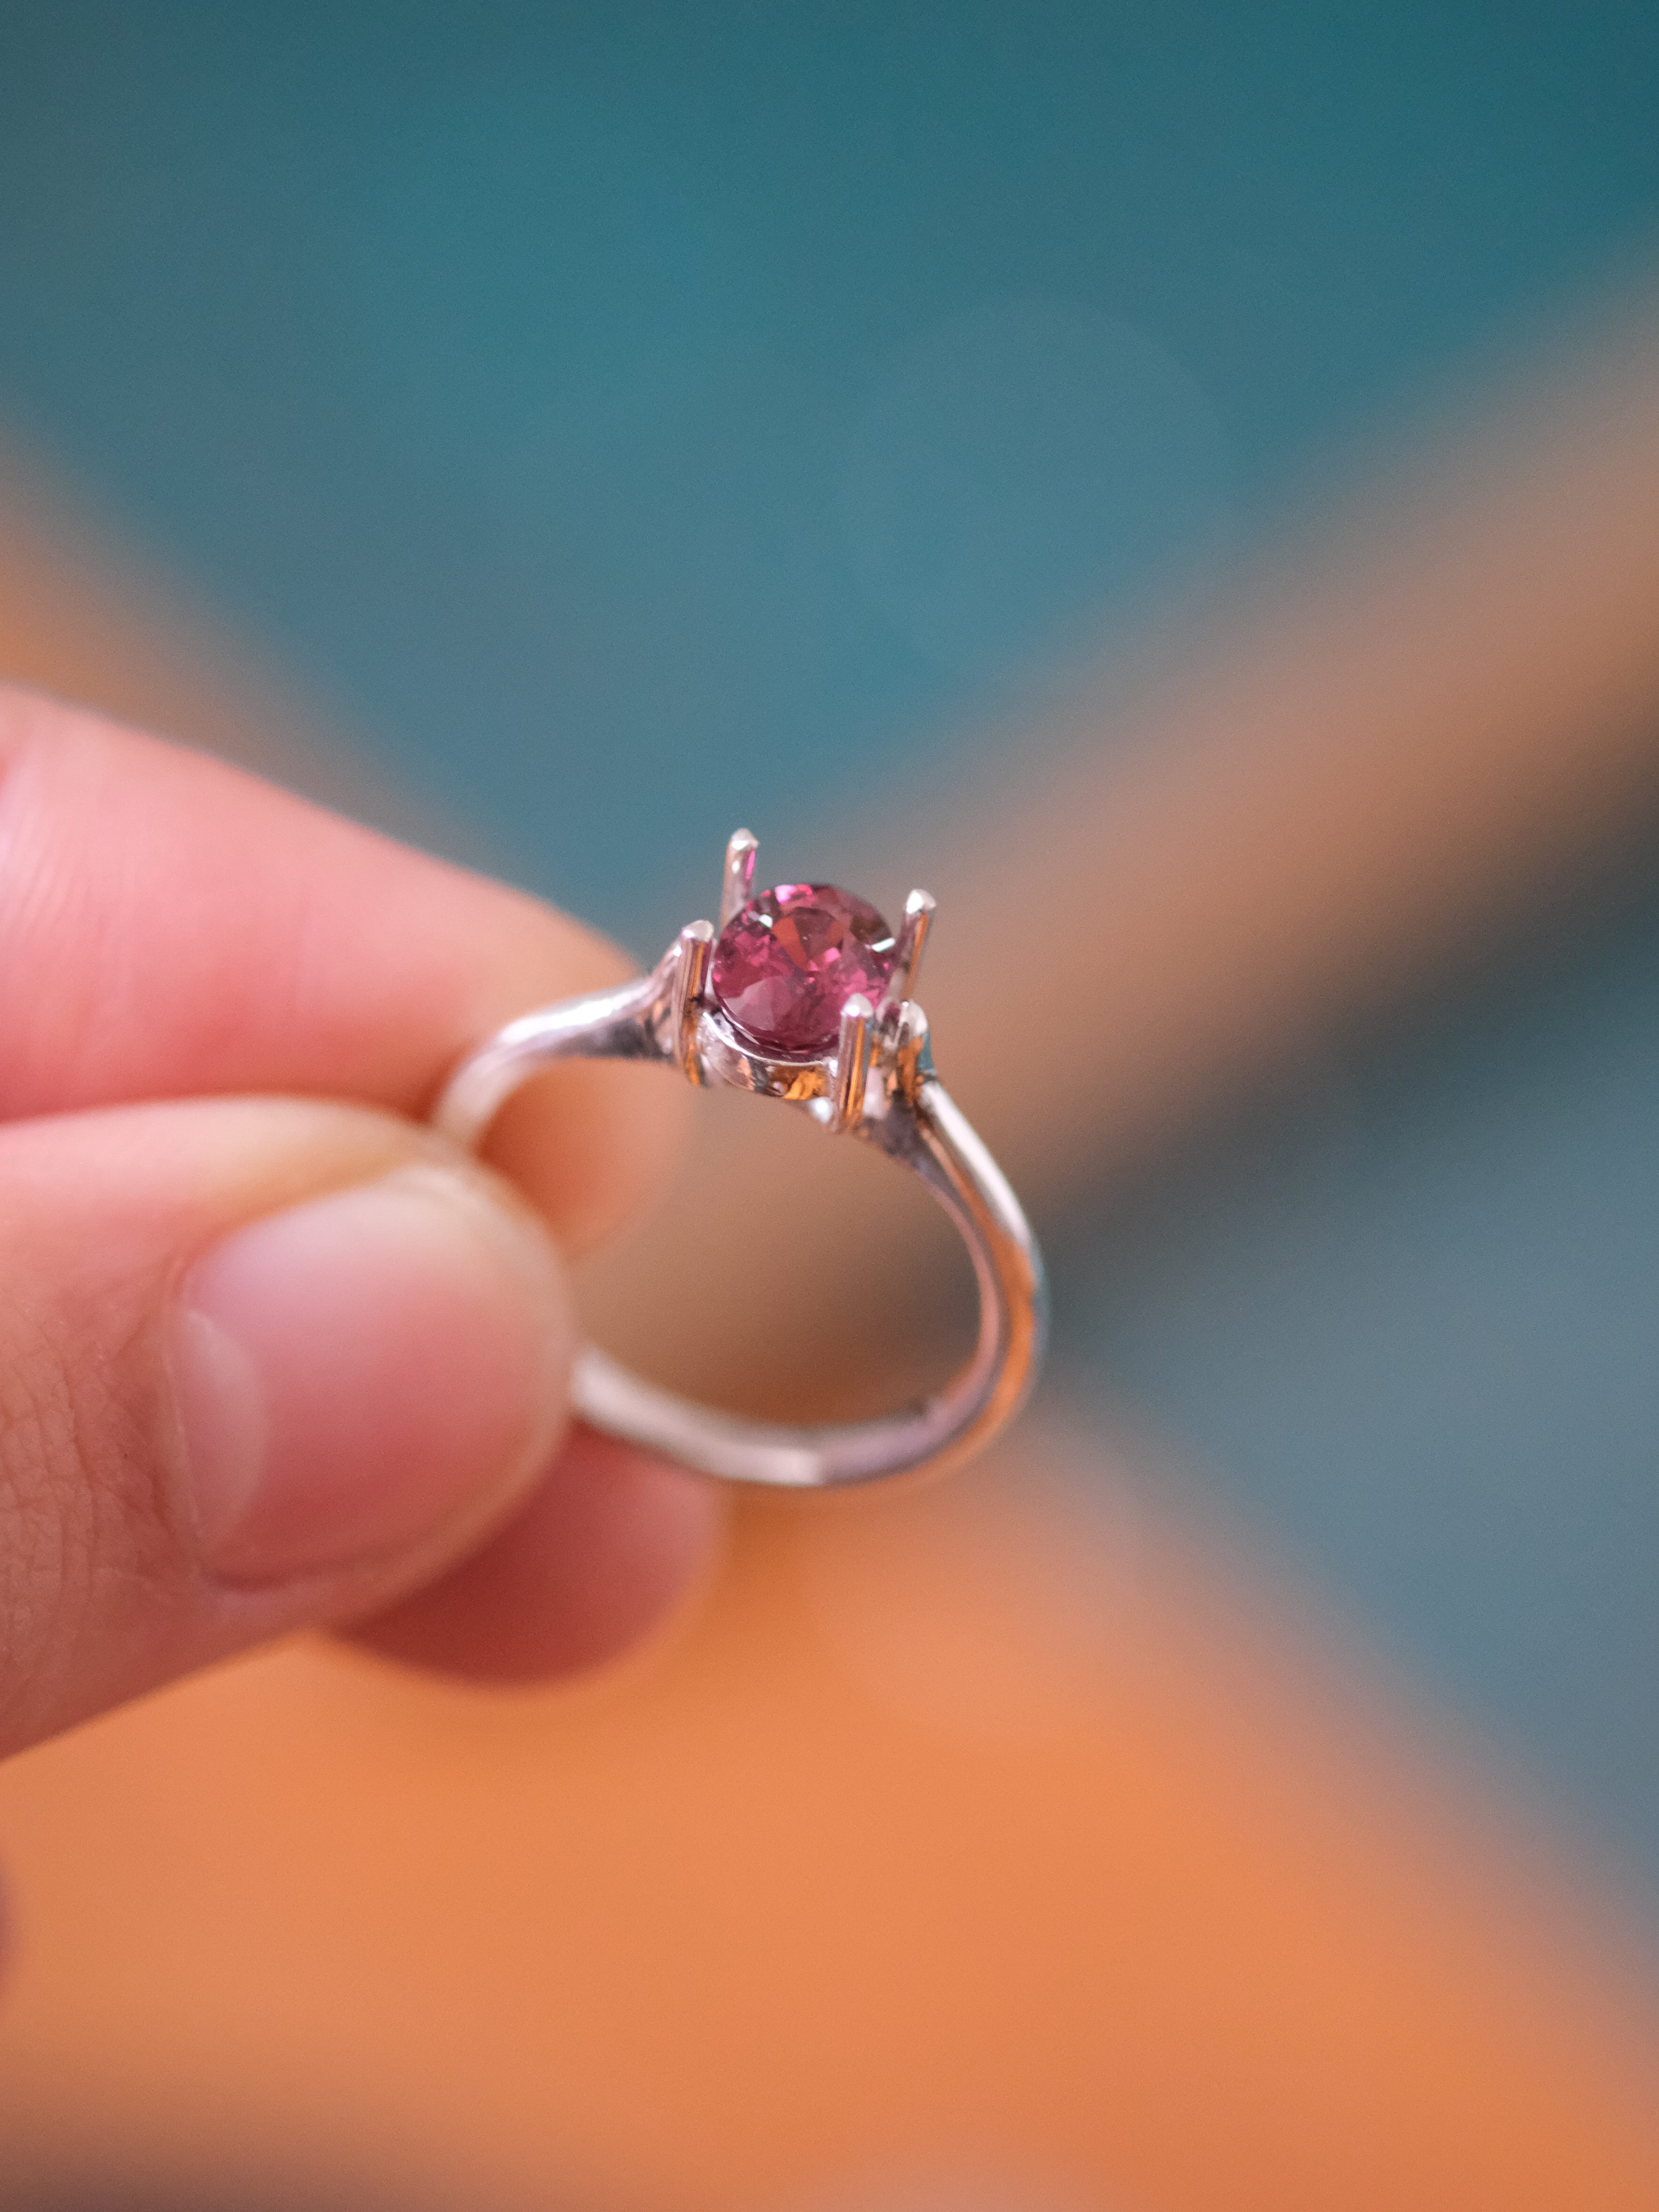
Creating this ring forced me to think through each step in advance, decide which seams had to be strongest, and work in a careful order. Seeing everything finally joined feels incredibly satisfying, especially knowing how much behind-the-scenes choreography goes into making a simple, elegant ring.
Pearl sakura pendant


In another dance with soldering, I finished the master version of my sakura pearl pendant. This piece was entirely fabricated (made directly in metal) - pretty neat what you can make from a flat silver sheet and a bit of wire!
For the ornamental detail around the pearl, I twisted round wire into a tight rope and shaped it into a circle, then soldered it onto the blossom so it nestles around where the pearl will sit. On the back, I added a hidden bail so the chain can pass through cleanly and keep the pendant centered when worn. As the final structural step, I soldered in the pin that will eventually secure the pearl itself.


I plan to cast the piece in platinum over the next few weeks and once that’s done, I’ll set the 8mm Akoya pearl at the center. I’m excited to see how the finished piece comes together once it moves to its final form. This will be my first platinum piece! I think the white color will suit the soft luster of the pearl well.