

Week 1: Open Heart
My first week as a fine jewelry apprentice

At age 30, I began an apprenticeship with a fine jeweler.
I spent the better part of the past decade building a career in corporate and venture capital finance. From a Big 4 firm to a startup to self-employment, I steadily zoomed in toward what I enjoy: working directly with customers and being creative.
In my biggest dial of the zoom lens yet, I decided to branch out of financial services and start working at a boutique jewelry studio in Tokyo.
Before you worry that I am experiencing an acute quarter-life crisis, I’ll share that I’m continuing my self-employed advisory practice - it is my main source of income and allows me the time and financial flexibility to pursue a new venture as a jeweler. It feels incredibly exciting to work with my hands, learn a new industry, and be open to what may come from it.
Through this newsletter, I will share my thoughts, experiences, and learnings as a fine jewelry apprentice.
Fine jewelry & lost wax casting
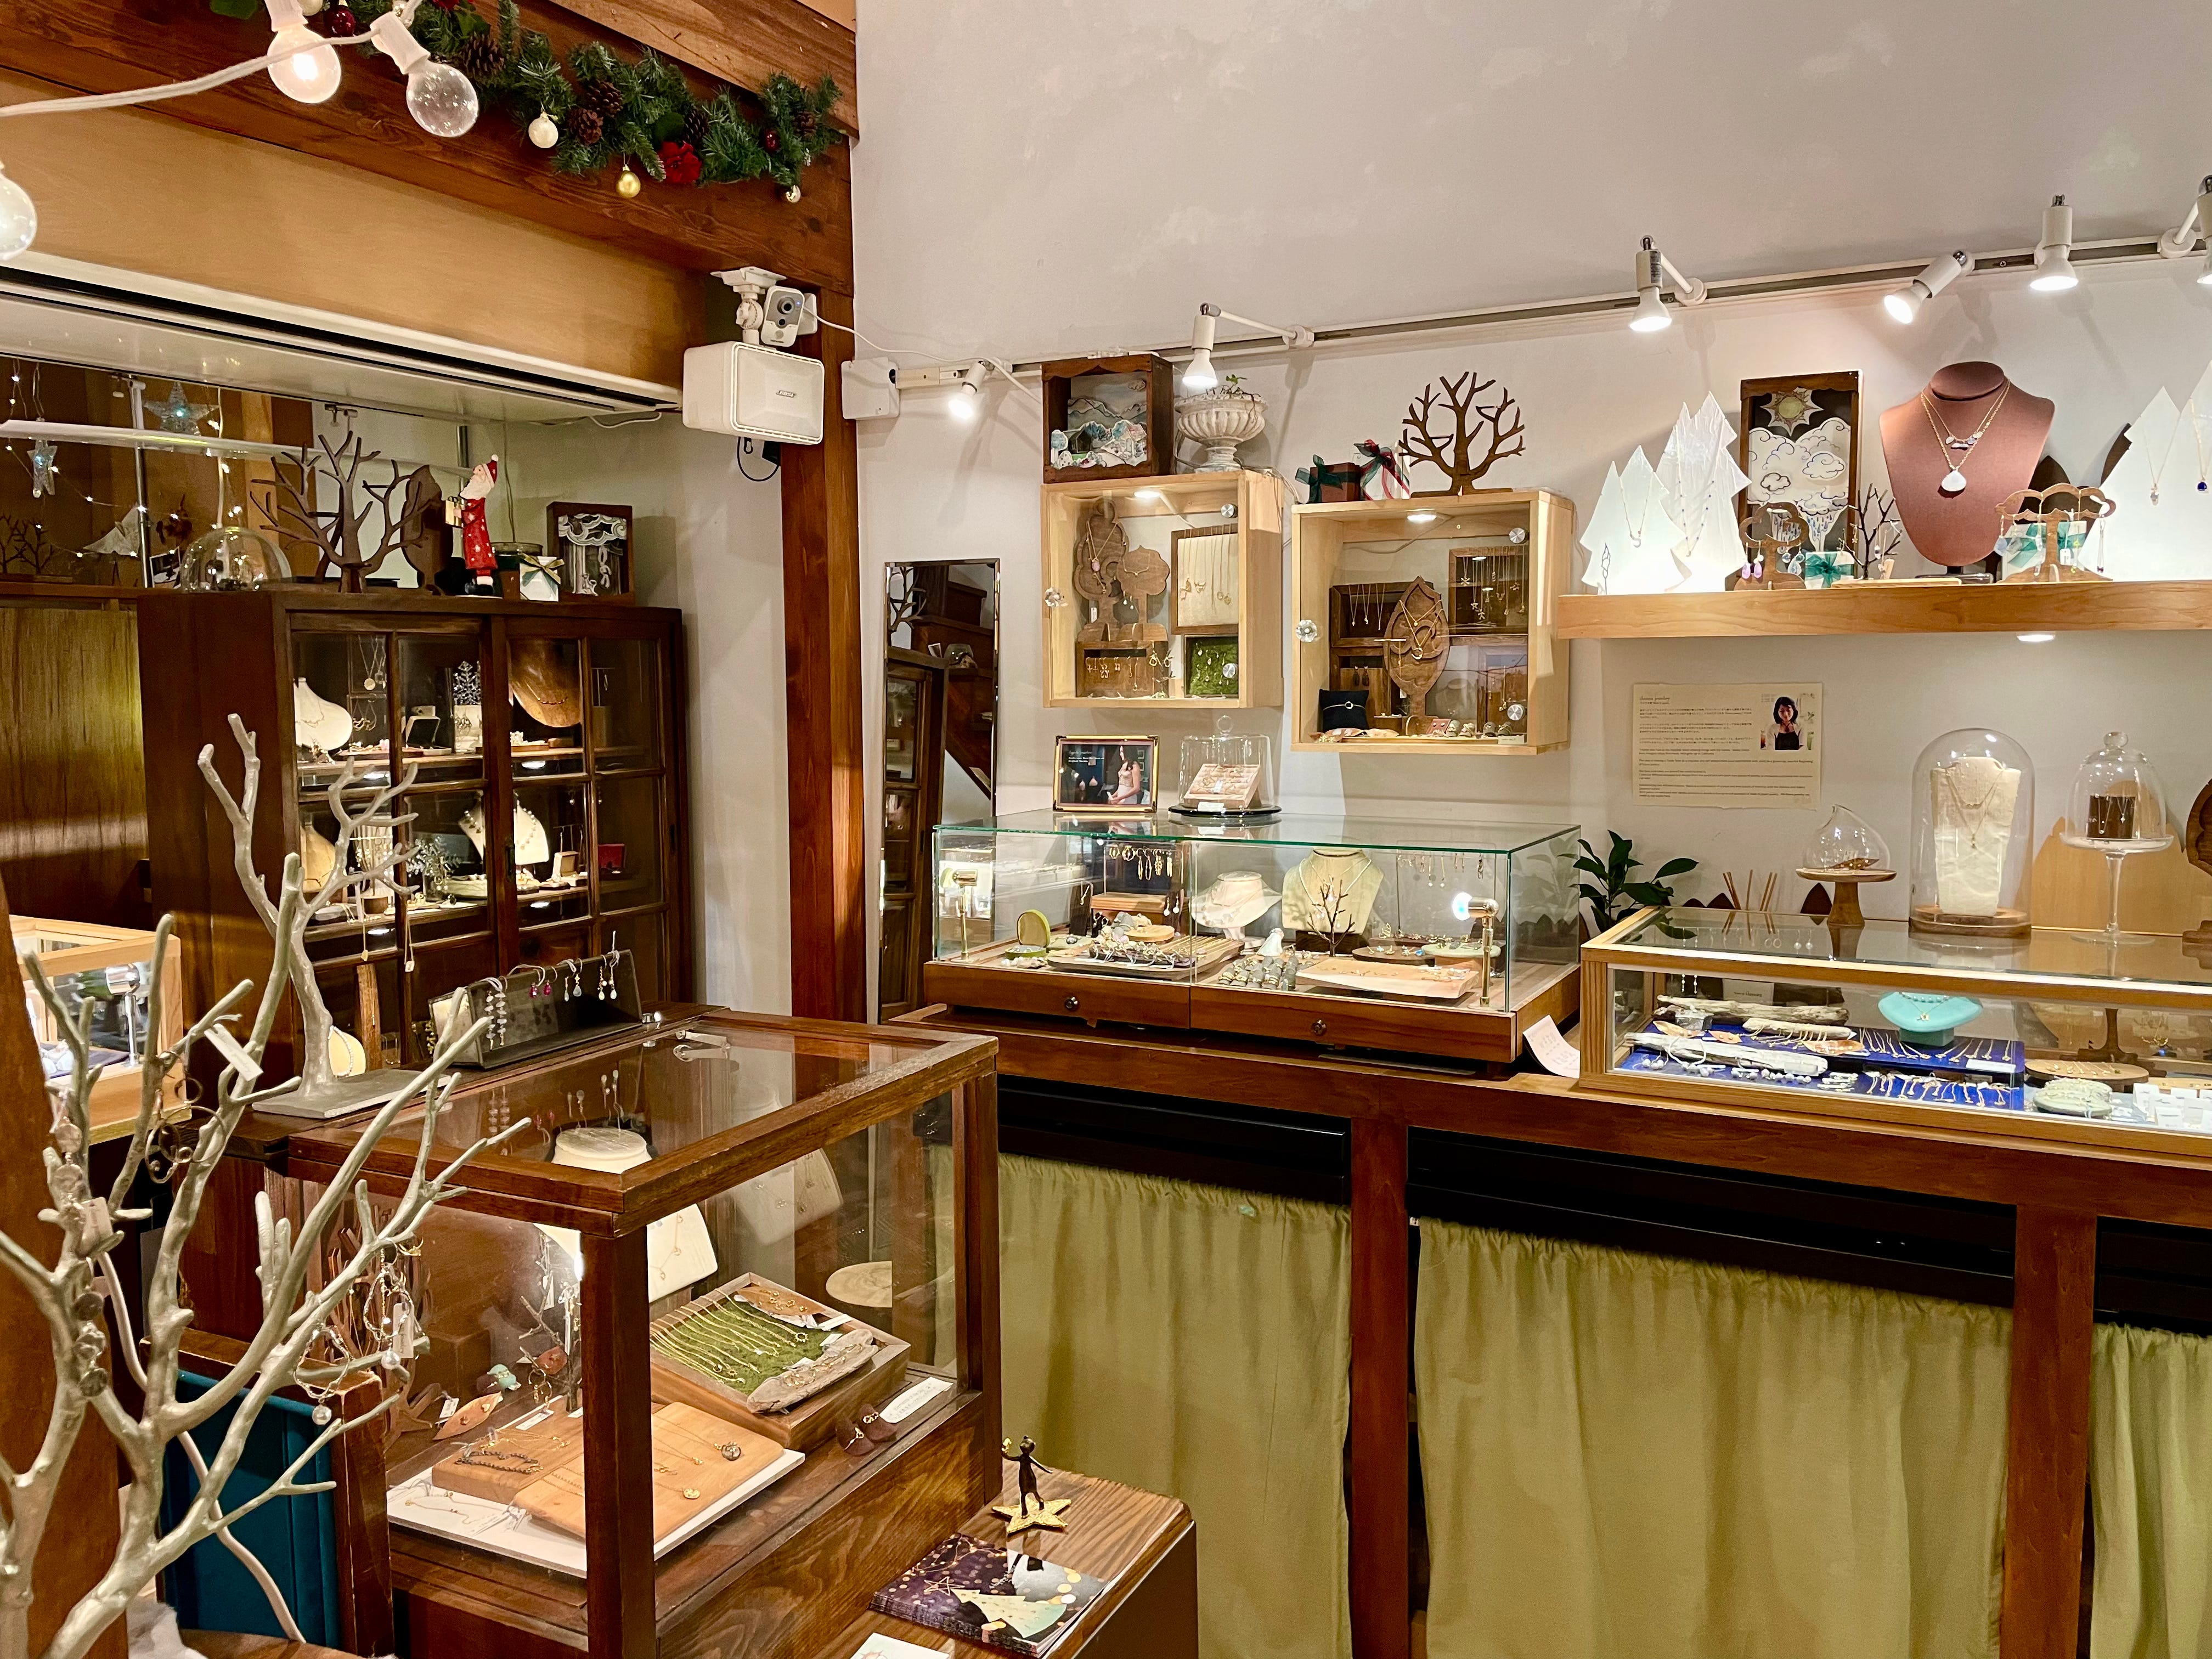
I work in a lovely little jewelry shop and studio called ileava jewelry in the heart of Tokyo. Gold, silver, diamonds, and sapphires fill every corner of the store floor.
What I love most about where I work is that every piece is handcrafted and nearly entirely from within the studio space by my mentor, Maya. Maya and her husband, Georges, run Ileava Jewelry together.
While there are many ways to make jewelry and many different types of jewelry, this studio uses a technique called “lost wax casting” to make fine jewelry.
Fine jewelry is made from precious metals, such as gold, sterling silver, and platinum. It often features genuine gemstones like diamonds, sapphires, emeralds, or rubies.
Lost wax casting is one of the oldest methods of making jewelry and traces back thousands of years. When using this technique, a jewelry designer will create a wax model of a piece. While you can use 3D printing to create the wax model, ileava jewelry makes them by hand. After the wax model is made, the caster (who may or may not be the same person as the jeweler) creates a mold around the model. The caster then burns away the wax, creating a cavity to pour the metal into (this process is called “casting”). The jeweler then refines the metal piece and adds any gemstones.
My responsibilities as an apprentice
My first days as an apprentice focused on familiarizing myself with the shop layout, the existing collections, and the materials that the pieces are made of. I polished dozens of silver rings, organized display cases, assisted customers, and spent many hours painstakingly preparing silver clasps for future necklaces.
Polishing silver
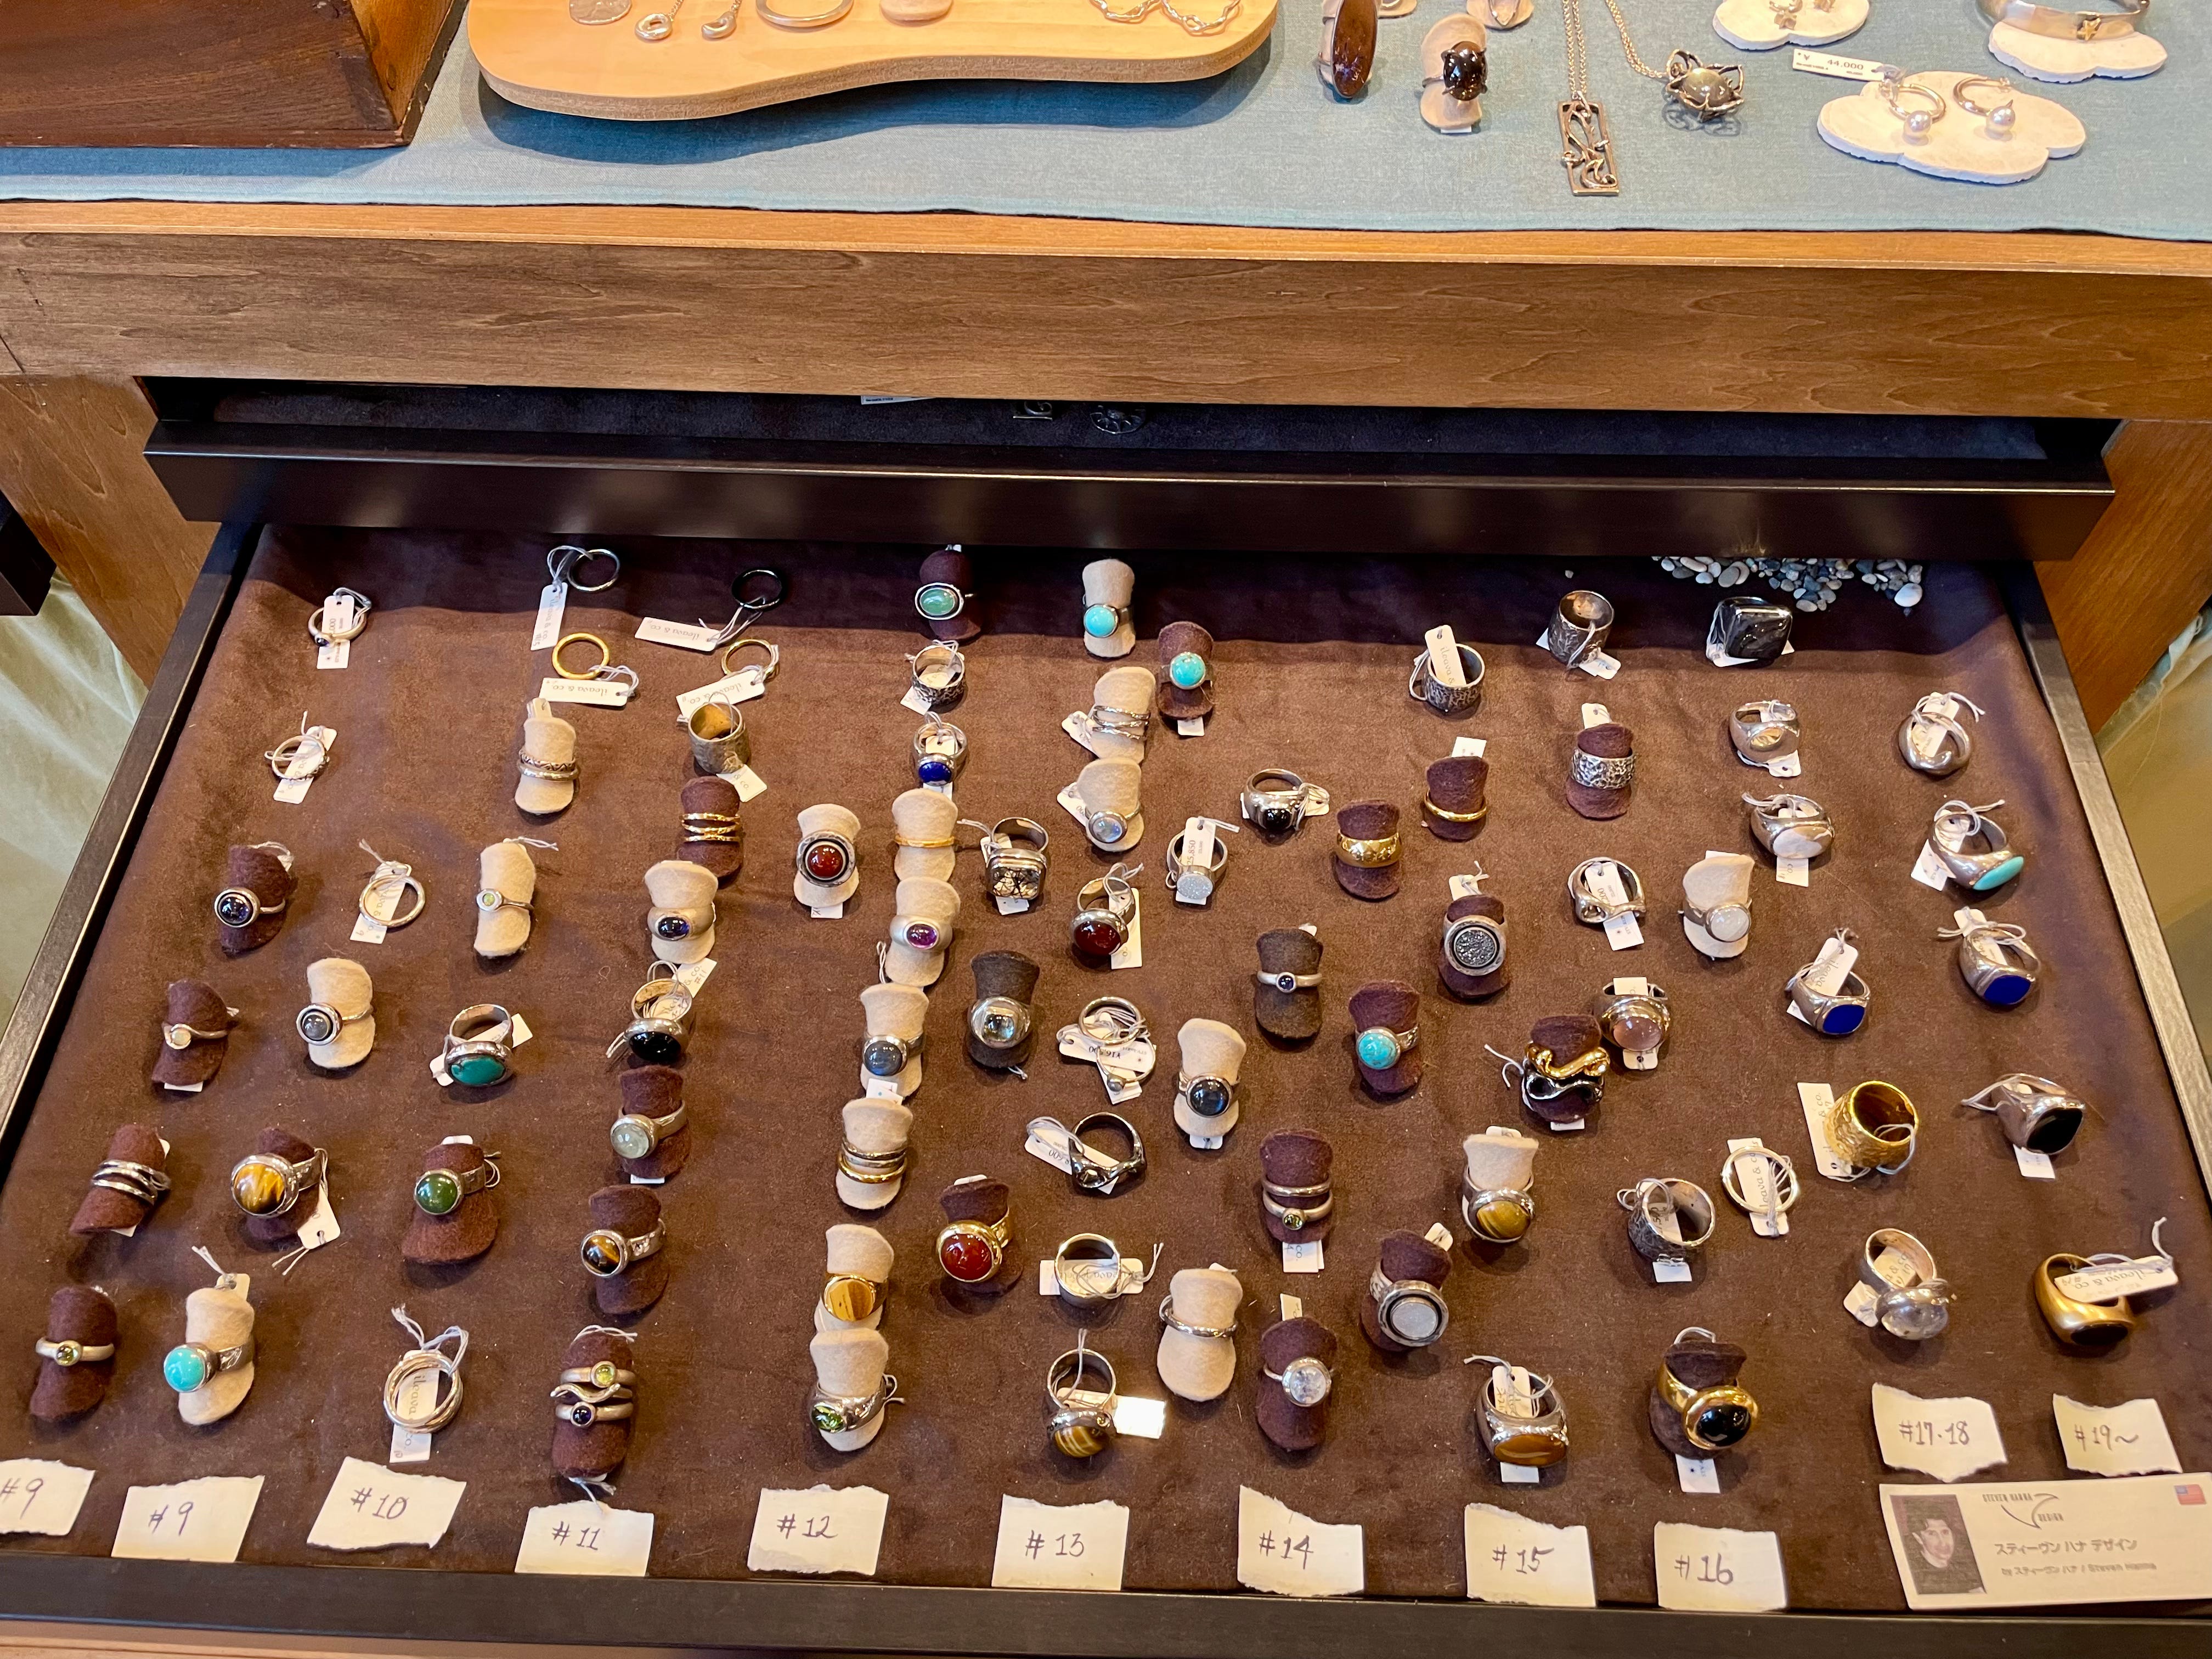
I don’t personally own any silver jewelry, so I didn’t know anything about how to care for sterling silver pieces. Silver oxidizes over time, leaving dark tarnished areas that dull the appearance of the jewelry. (In some cases, the jeweler may intentionally oxidize the silver using a chemical or other technique to speed up the tarnishing process. Oxidized jewelry can create more of an antique or rustic look.)
I used a small cloth dipped in a cleaning solution to carefully wipe away the tarnished areas of rings.
Assisting customers
When I first decided I wanted to learn how to make fine jewelry, my focus was narrowly on that: the making of the jewelry. I didn’t realize how informative helping customers would be to my own knowledge of the products and industry.
Through every customer interaction, I gain insight into why people want jewelry, what designs grab them, and how to create a special purchase experience for them.
Jewelry is such a joyful product. As a friend of mine recently told me over dinner, “you don’t buy jewelry for a funeral”.
Every customer I helped was looking for a piece to represent love - boyfriends giving Christmas gifts for their girlfriends, a mother and daughters trio searching for matching rings, men looking for a souvenir from their business trip for their wives, and women seeking a special piece for their own birthdays.
I love getting to know the customers and learning a little bit about exciting milestones in their lives.
In terms of my own future jewelry creations, learning about what customers seek in fine jewelry inspires many design ideas.
Preparing clasps
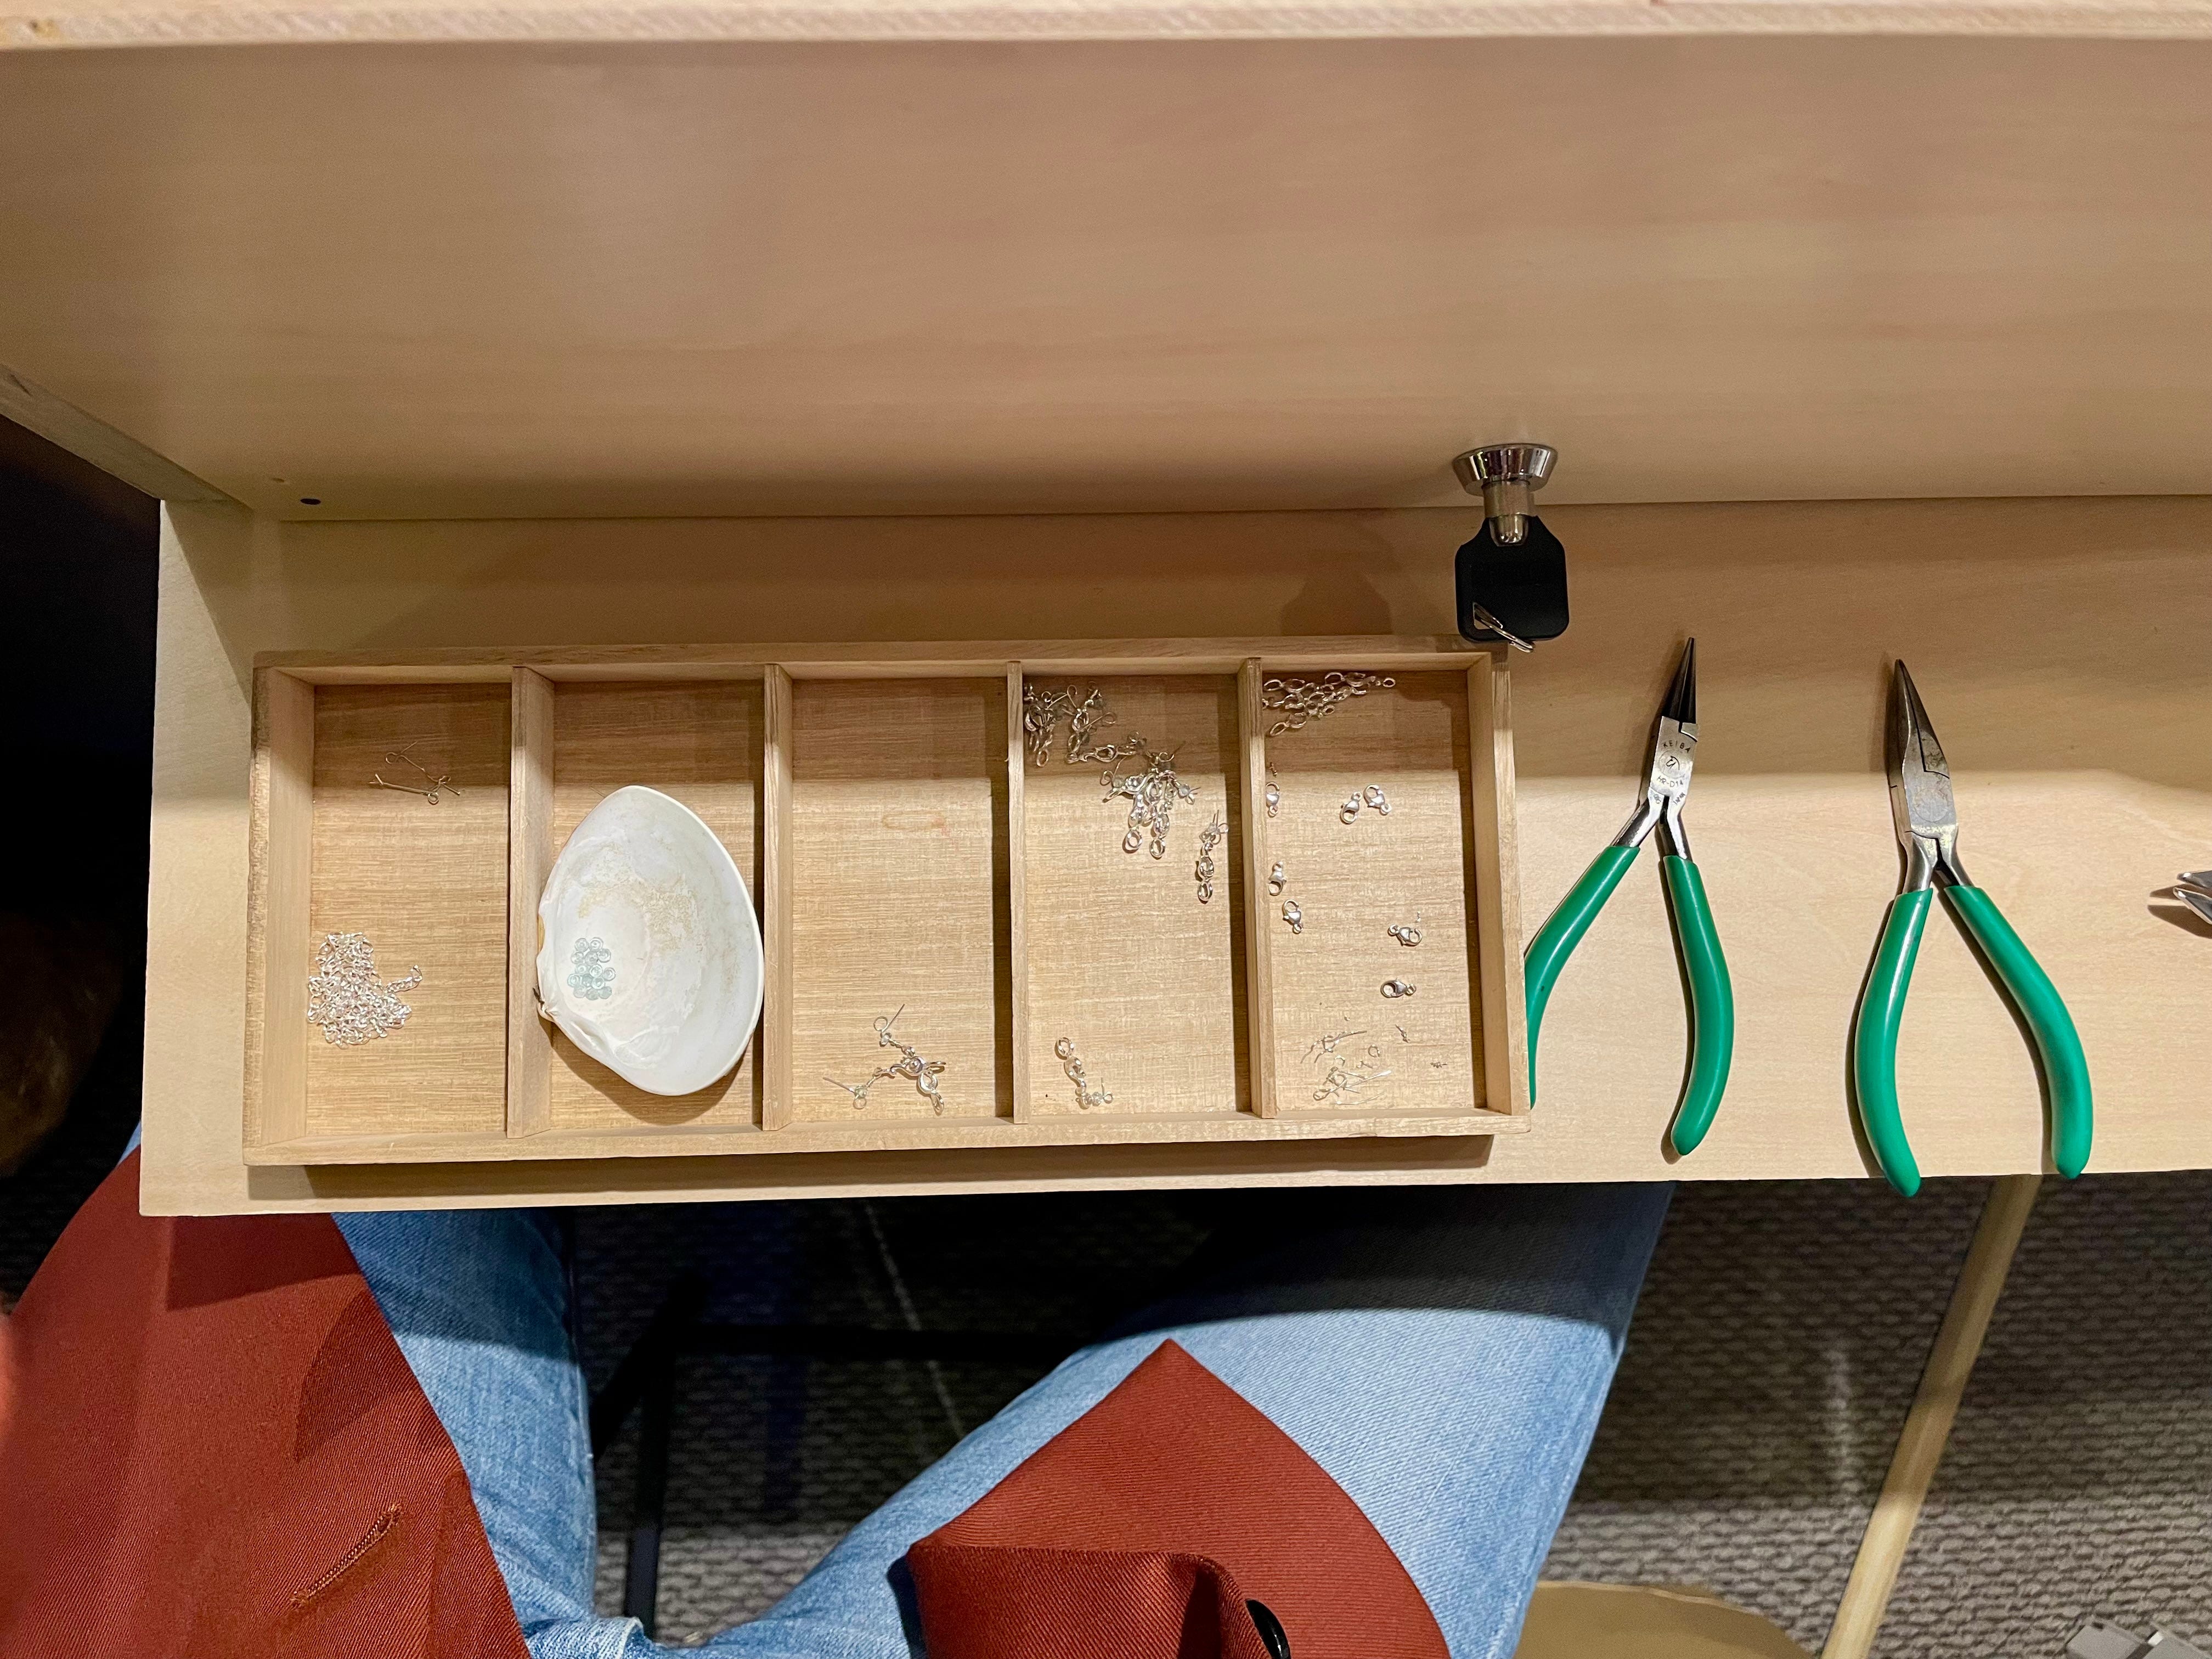
Making tidy, professional-looking necklace clasps is maybe - without exaggerating - the most challenging thing I’ve ever tried. There’s a reason my mentor started me with silver and not gold (hint: it’s to allow for mess-ups!).
I carefully wrapped silver wire around silver clasps and a little aquamarine bead using two pliers and a wire cutter. My mentor came over every 20-30 minutes to scrutinize the clasps and kindly point out where many of mine fell short (or technically, fell long as I was making too many twists of wire!).
After probably around 20 subpar attempts with a lot of wasted wire, I finally got a good rhythm and made some worthy of attachment to future necklaces.
My mentor told me that preparing clasps in bulk makes it easier to assemble necklaces as they are ready.
Making my first jewelry piece
A friend of mine is getting married in June and I set a goal to design and make a gold necklace for her as a wedding gift.
As of now, my plan is to make a heart pendant where the chain can loop through the two rounded curves of the heart - symbolizing an “open heart” to love and marriage.


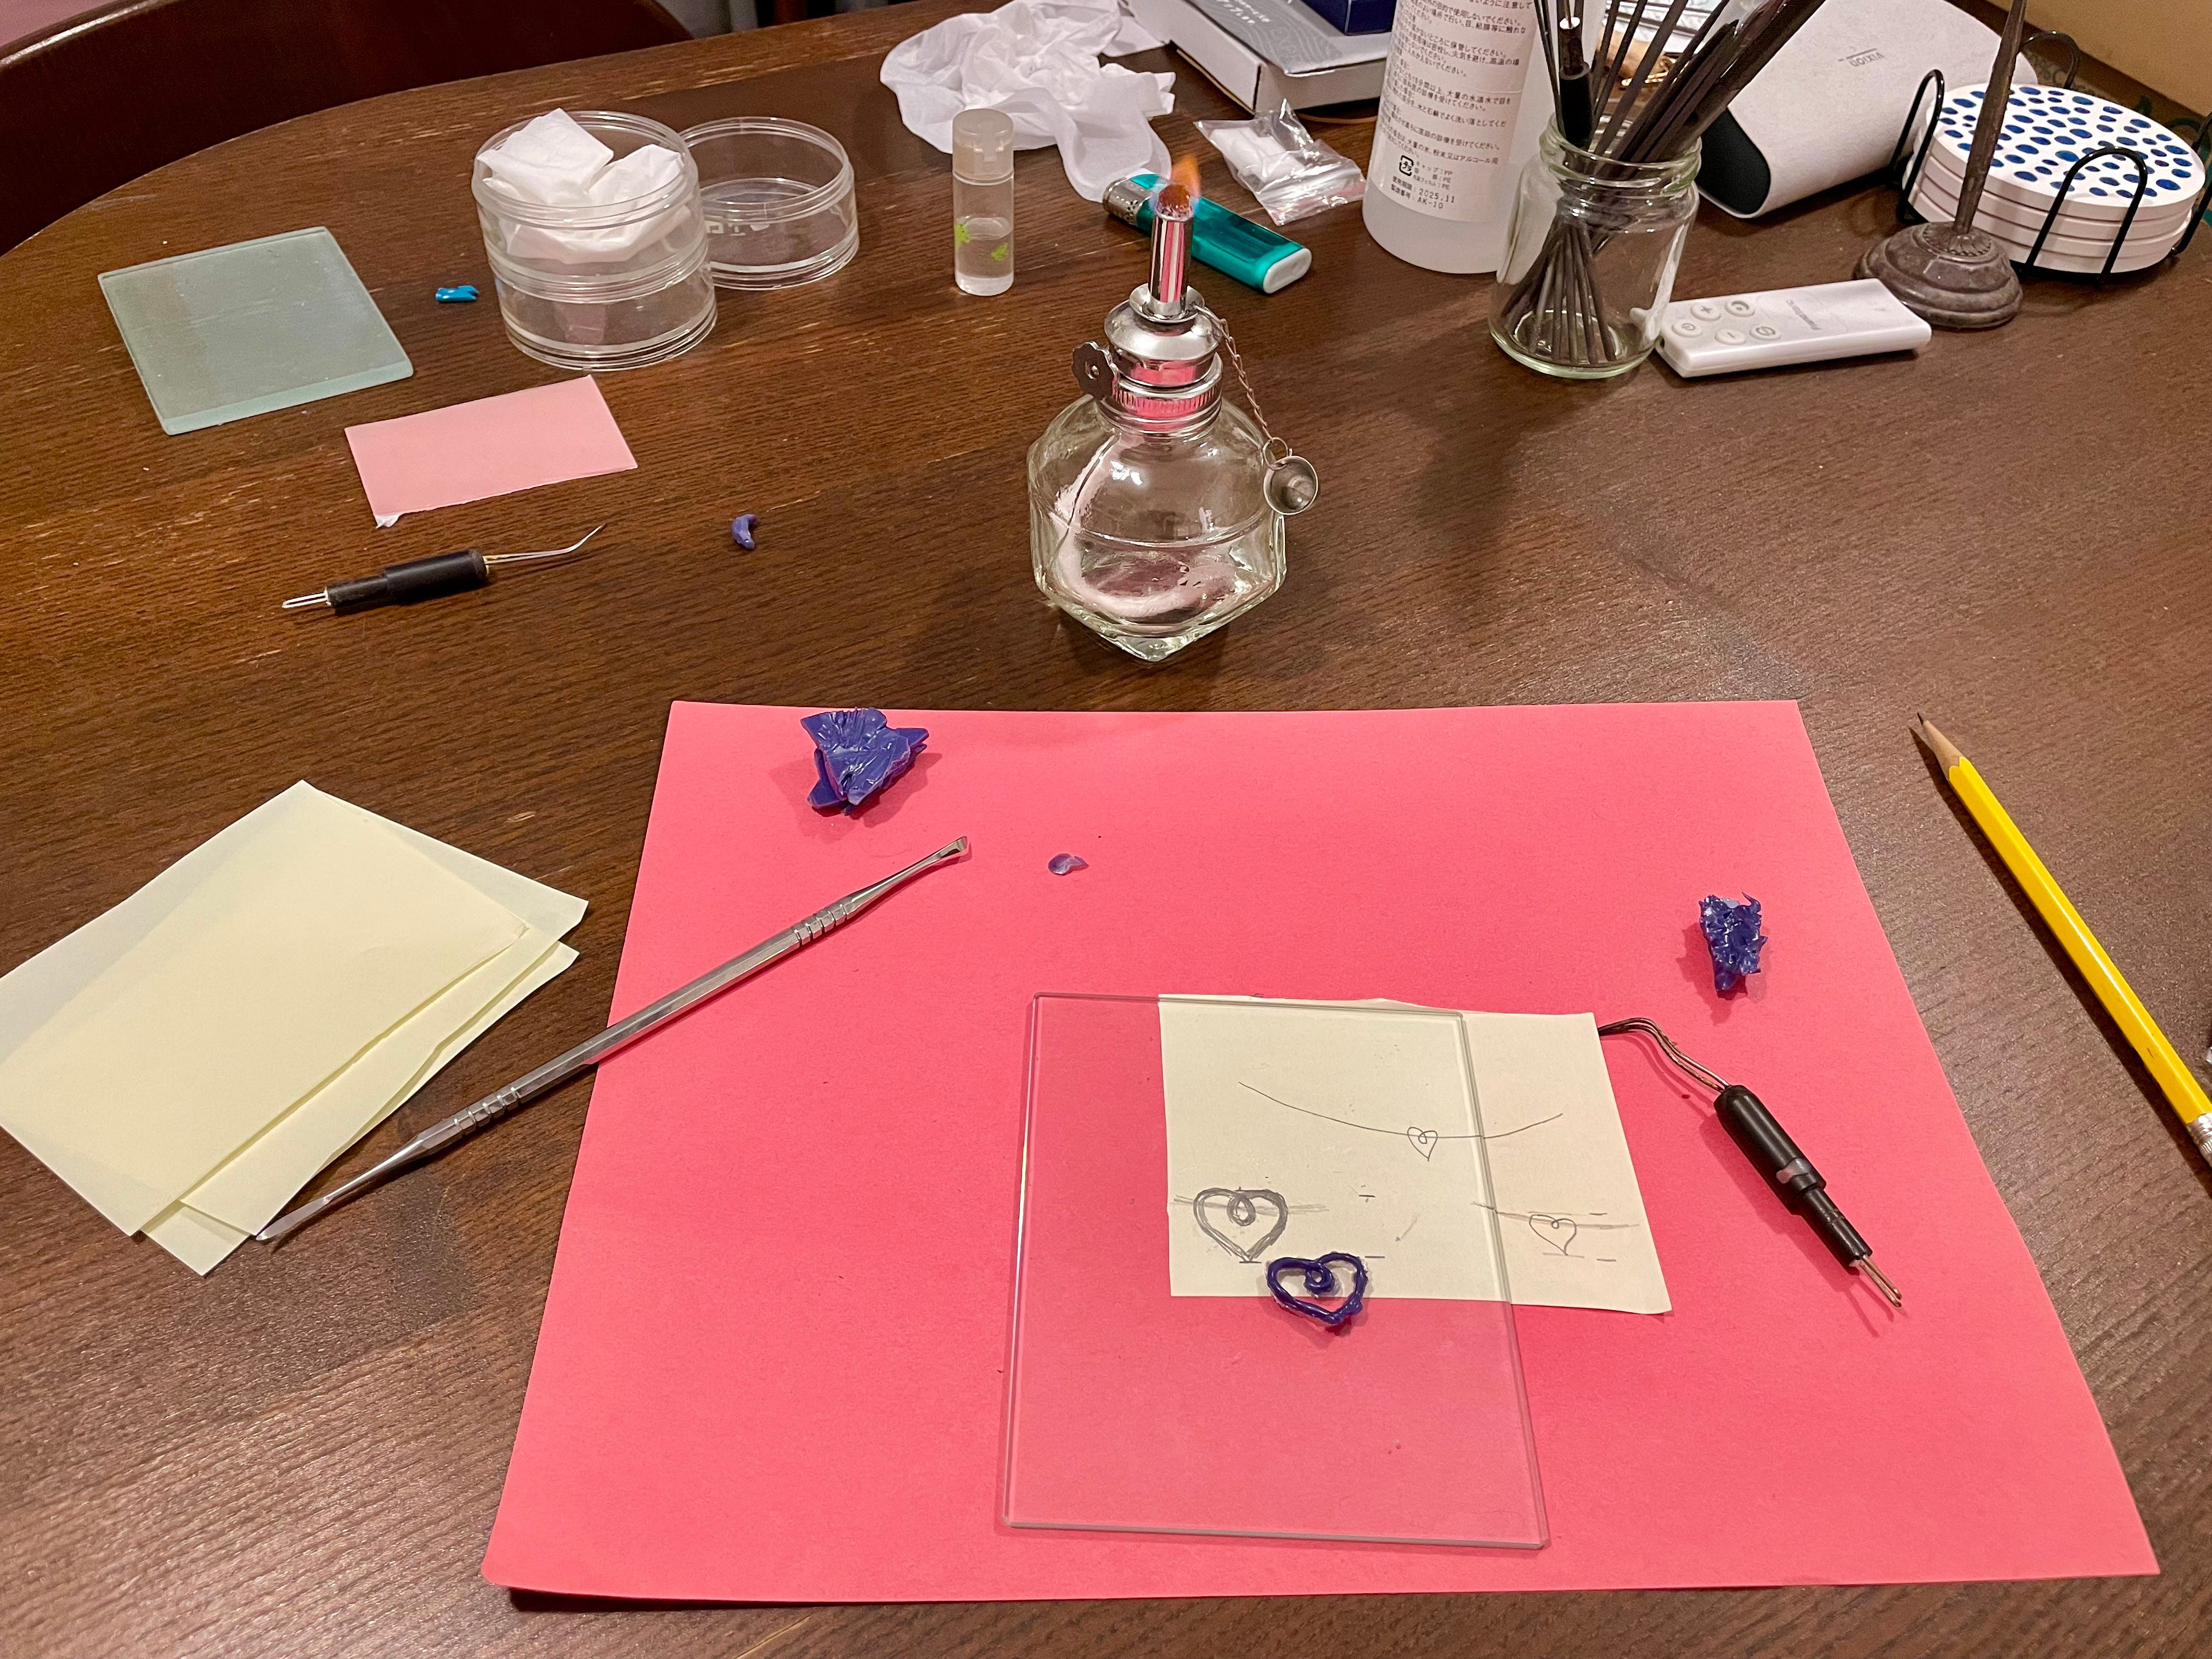
I first sketched a general outline of the heart on a piece of scratch paper. Once I was satisfied with it, I placed a piece of clear glass over it. My mentor dabbed a tiny bit of baby oil on the glass to prevent the wax from sticking too much to it.
Next, I started to trace the heart design using heated wax (I’ll detail this process more in a future write-up). Once I built up the wax outline to about a millimeter, I pulled it up off the glass to build it further in 3D between my fingers.
Because I want the chain to loop through the curved parts of the heart, I need to separate the center of the heart before further refining the design - a challenge for next week!