Week 5: My Father's Daughter
The beginnings of my home jewelry studio
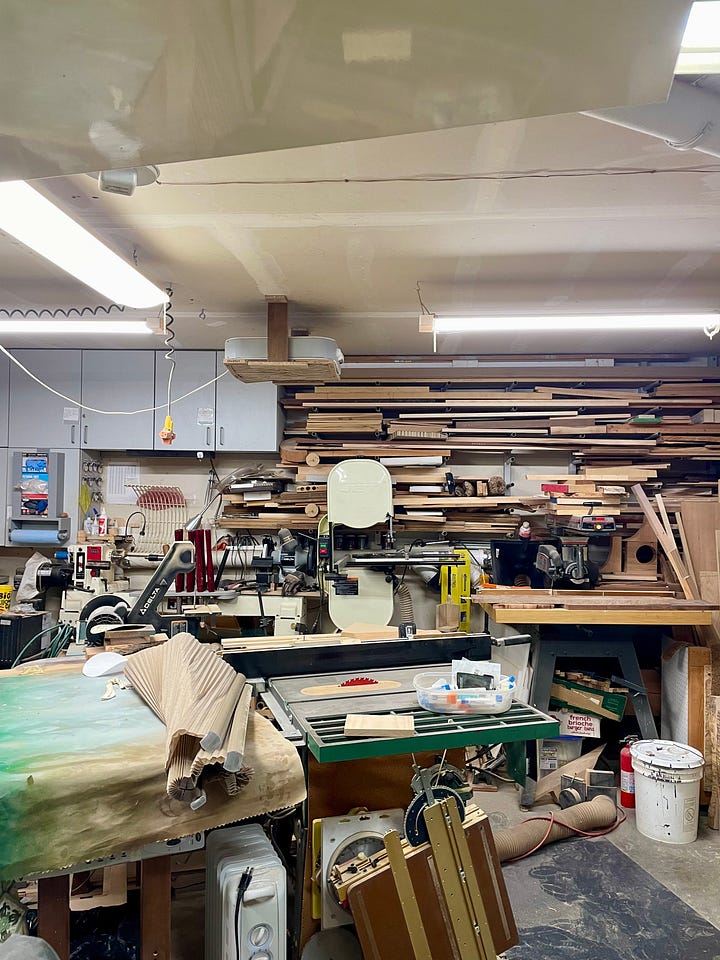
My dad spends all of his spare time in his woodworking workshop. For my entire life (despite my mom’s best cleaning efforts), sawdust follows my dad into the house. He makes beautiful furniture, toys, and all sorts of wooden decor.
Just like my dad, now I’m frequenting supply stores, getting excited about tools, and spending hours on projects. Instead of sawdust, wax dustings cling to my clothes.
Jewelry and woodworking actually share more in common than I thought. They both are architectural, artistic, and can be commercial. A lot of the tools and techniques overlap.
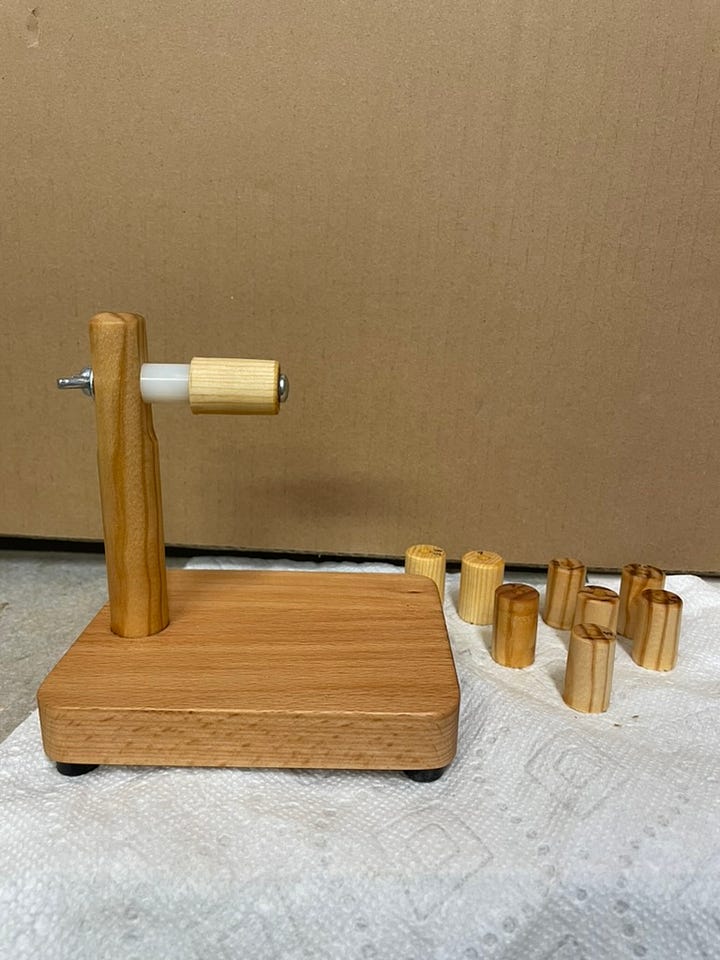
I stayed the past week at my parents’ home for Christmas and it was so fun spending extra time with my dad in his workshop. He gave me quite a few good ideas for how to more efficiently carve wax and even built a few jewelry making tools for me (more on that later!).

Back in Tokyo, I have a new-to-me wax working setup waiting. I ordered an antique, Showa-era desk that I will use for building my jewelry pieces in wax. (You need to keep your wax space separate from your metalwork space to avoid cross-contamination of tools and materials.)
I feel very grateful to spend time with my dad working on what we love together. :)
Wax works
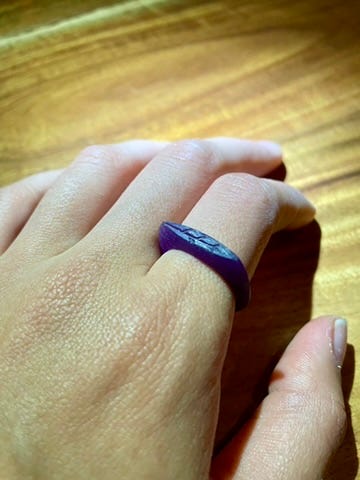
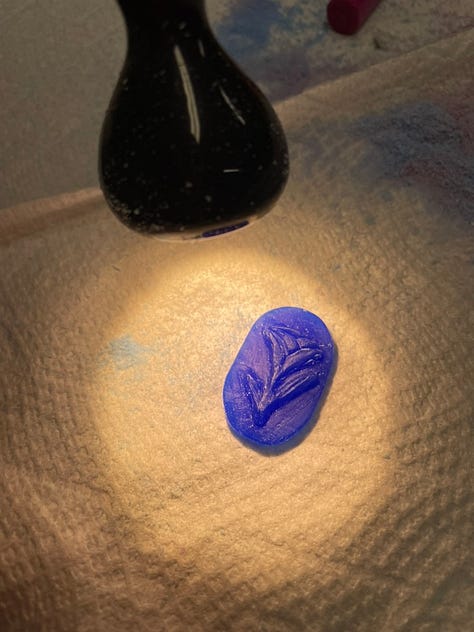
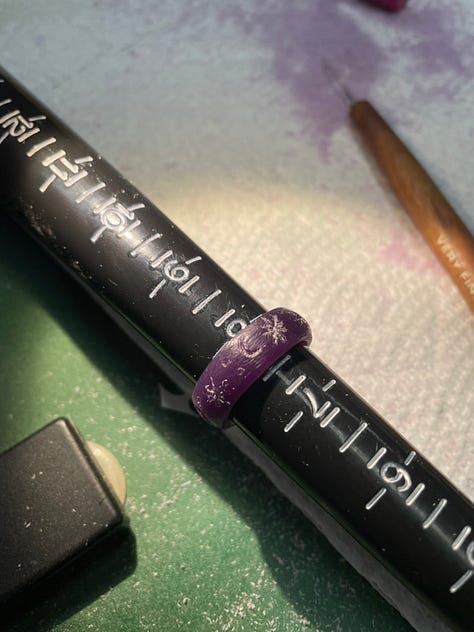

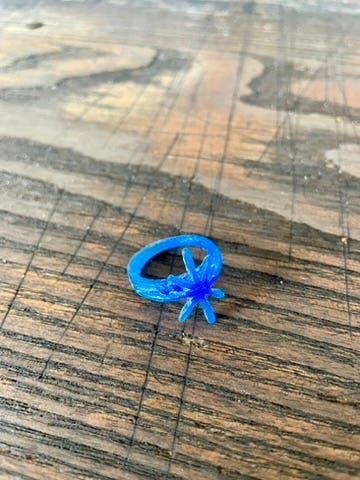

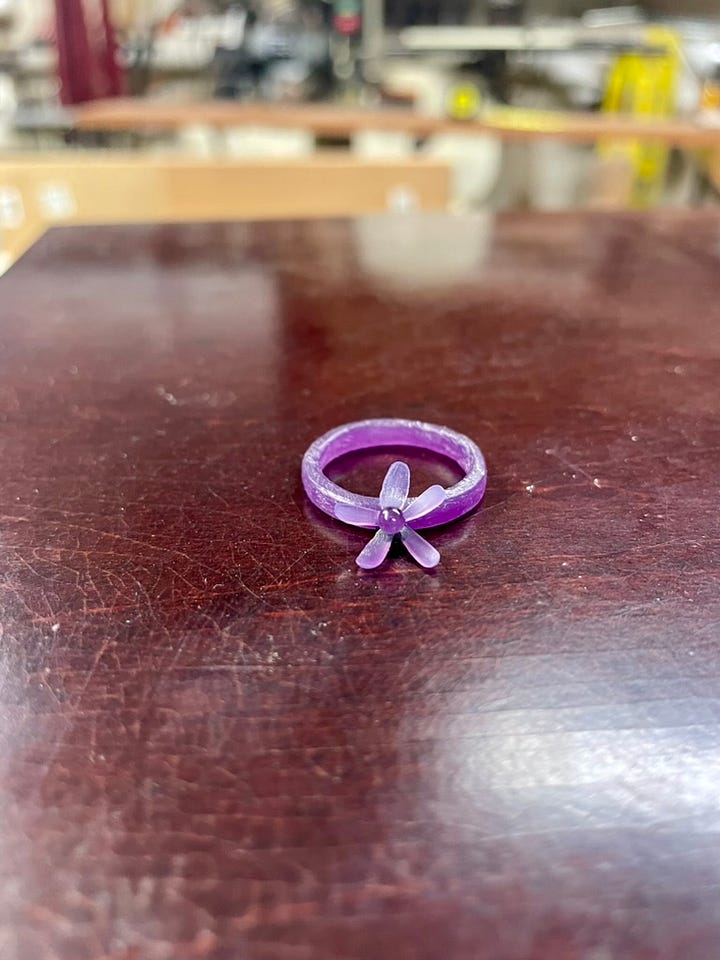
I played around with carving different shapes and designs over the past week. I don’t know how many pieces I’ve made so far that I will actually cast into metal, but I plan to bring in a few to my mentor in January to get her feedback.
Different types of wax have different characteristics. Some are harder and better suited for intricate carvings while others are softer and useful for fluid designs. I recently also discovered Mitsuro Hikime, a traditional Japanese organic wax that stretches almost like taffy, and will take a one-day course in it at a Tokyo studio in January.
More than anything, carving jewelry requires time and patience. The pieces are so small that creating anything intricate necessitates extreme care.
I didn’t have my tools to add hot wax to pieces since I was at my parents’ home this week. As a result, I was challenged to mostly just remove wax and ended up discovering some new carving techniques. I am particularly inspired by floral designs and am trying different ways to sculpt flowers.
My biggest learning, which is maybe obvious to anyone who went to art school (I didn’t), is that details should be carved last. First, I sketched the overall shape, then worked to create dimension and layers. Finally, I refined the petals or whatever designs I made.
Design inspiration
Before I started carving any wax, I originally thought that I would only be interested in making minimalist jewelry like the type I wear daily.
However, I find that as an artist it’s enjoyable to work on more sculptural pieces. I would love to eventually get practiced enough to create the whimsical Victorian and Art Deco styles that I spend hours admiring online.
I didn’t anticipate that my own taste for jewelry would change so soon. Looking forward, I fully expect that my design choices will evolve as I keep learning.
Supplies & Tools

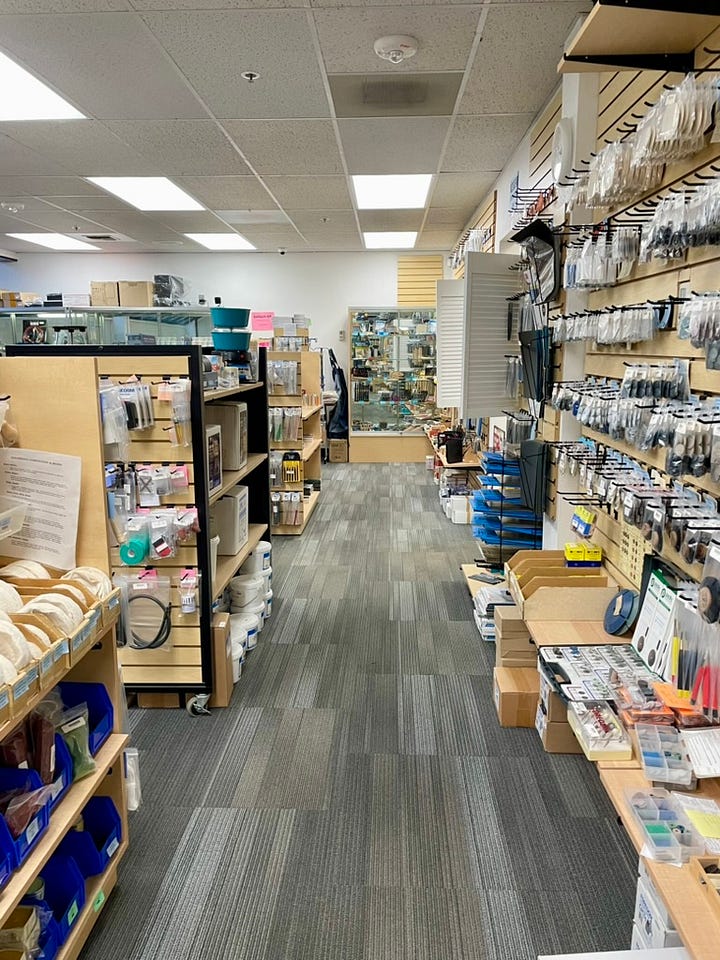
Jewelry making tools aren’t cheap (but if you ask my dad, in comparison to woodworking tools they are incredibly affordable).
As I’ve mentioned before, the shop where I apprentice uses the lost wax carving technique of making jewelry. Most beginner/intermediate tools for wax carving run between $50-$500 and you can probably get started with just the essentials and spend less than $200-$300.
I pretty much bought all the core tools needed for the wax-focused portion of the jewelry making process. Of course, there is always more to buy and learn. I’ll also eventually need to acquire tools for soldering and working directly with the casted metal and any stones.
In case you’re curious and for my own reference, I listed the products I purchased below and their approximate prices. The total came to nearly $1,000(!!). It includes a new desk I bought and doesn’t include any actual materials such as metal, stones, wires, or findings. I marked with an asterisk the items I consider to be absolute essentials.
*Wax Working Kit - $240
*LED lamp with magnifier - $38
Wax wires (from Seattle Findings) - $27
Jewelry Designing Template (from Seattle Findings) - $14
Metal ruler (from SeaForce in Tokyo) - $8
Magnifying glasses - $7
Mini engraver - $27
Antique desk - $235
Bench pin (made by my dad - this would cost around $15 to purchase)
Ring mandrel for wax carving (made by my dad - this would cost around $100 to purchase)

Whether you are woodworking or creating jewelry, there is no wrong way to make art. Whatever tools or techniques work, work! And that’s so freeing.


